How to Check OKI Drum Unit Quality Before You Buy: A Buyer's Checklist
You've just received a quote for OKI drum units that's 30% below your usual supplier. Tempting, right? But one bad batch of drums can wipe out your margin with returns, bad reviews, and wasted labor. Most OKI drum failures—streaking, ghosting, premature end-of-life—trace back to shortcuts taken before the unit ever leaves the factory. Here's how to spot them before you commit.
Know Which OKI Drum You're Actually Buying
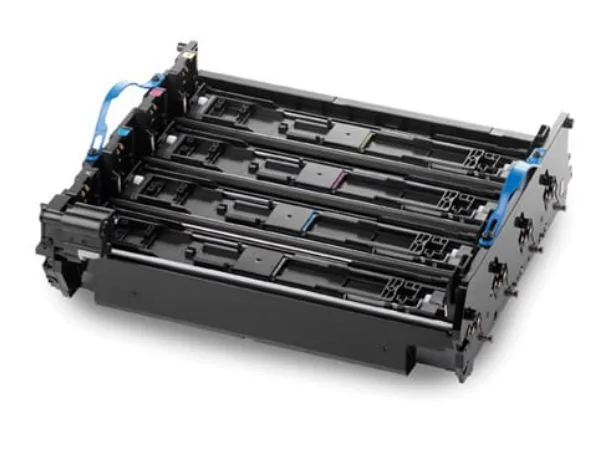
OKI's drum unit design changed significantly across generations. The B410/B420 series uses a compact drum with an integrated charge roller, while the C300/C301/C321 series has a completely different drum cartridge that includes the waste toner section. If a supplier sends you a "universal" drum for a C332 that physically fits a C301, the gears and electrical contacts won't align—you'll get error codes or blank pages. Always confirm the exact OEM part number: for example, 43979002 for the B410/B420 drum, or 46438002 for the C301/C321. Ask for a photo of the actual unit with the part number stamped on the housing. If they hesitate, walk away.
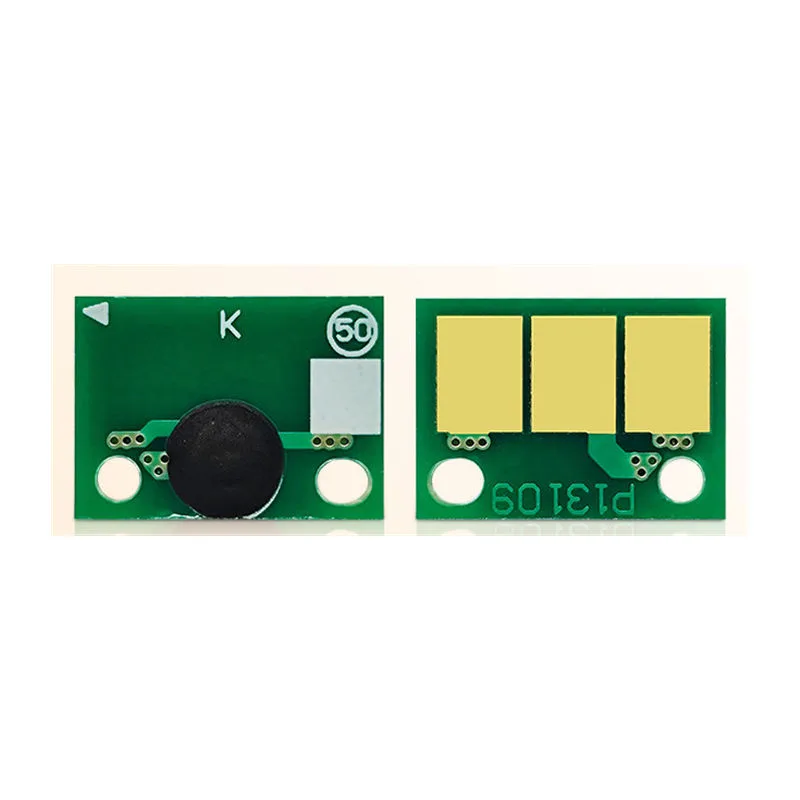
Also check the chip. OKI printers use a consumable chip that communicates drum life and toner level. Some aftermarket drums ship with a generic chip that works for the first cycle but fails to reset on refill. Ask your supplier whether the chip is OEM-grade or a one-time fuse. A good supplier will tell you upfront—and offer both options.
Inspect the OPC Drum Surface Like a Pro
The OPC (organic photoconductor) drum is the heart of the unit. Under a bright LED light, tilt the drum at a 45-degree angle. A quality coating looks uniformly dark green or blue-grey with a mirror-like finish. Look for any hazy patches, tiny pinholes, or circular scratches. Those cause repeating dots or streaks on every print. Run your gloved finger gently across the surface—it should feel slick, not tacky. Tackiness means the coating hasn't cured properly and will wear out in a few thousand pages.
Check the drum's edge. A clean, sharp edge with no chipping indicates good machining. If you see white spots along the edge, the coating was applied unevenly—common in low-bid factories that skip the dip-coating filtration step. For OKI's high-speed models like the C800 series, the drum rotates faster, so any imbalance or wobble will show up as jitter. Spin the drum by hand; it should turn smoothly with no grinding or side-to-side play.
Check the Charge Roller and Cleaning Blade
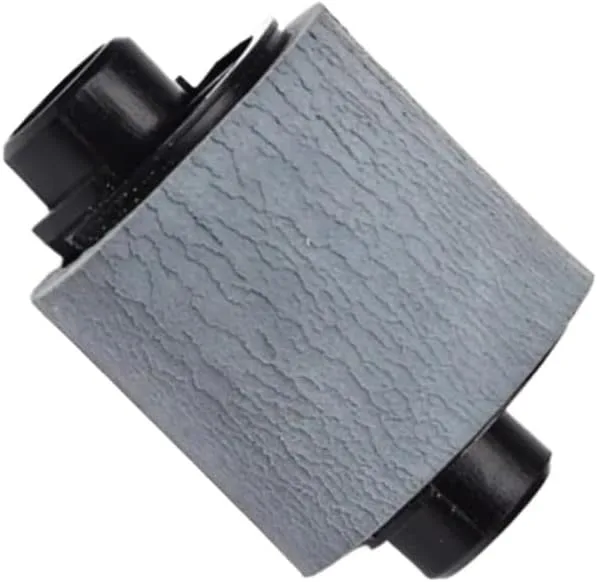
The charge roller sits against the drum and applies a uniform voltage. A cheap roller uses inferior foam that flattens after a few hundred pages, causing uneven charge and light prints on one side. Press your fingernail into the roller—it should rebound immediately. If it leaves an indentation, the foam density is too low. Also look for any shiny spots on the roller surface; that's where the foam has collapsed.
The cleaning blade is a thin polyurethane strip that scrapes residual toner off the drum. A good blade has a sharp, straight edge with no nicks. Flex it gently—it should feel stiff but not brittle. If it's too soft, it will curl and leak toner; if too hard, it will scratch the drum. Ask your supplier what durometer (hardness) they use. For OKI drums, 70-75 Shore A is typical. Anything below 65 is a red flag.
Verify the Seals, Gears, and Toner Auger
Leaking toner is the number one complaint we hear from repair shops. It almost always comes from poor seals. Check the foam seals around the drum frame and the toner inlet. They should be firmly glued, with no gaps or excess adhesive squeezing out. Run your finger along the seal—if it peels up easily, it won't survive shipping vibrations.
Turn the gear that drives the toner auger. It should rotate with light resistance and no clicking. A clicking sound means a broken tooth or a misaligned auger. Also inspect the auger coil inside the toner hopper—it should be clean and free of plastic flash. Some factories skip the deburring step, and those plastic bits end up in the developer unit, causing clogs. If you're buying in bulk, ask for a sample from the middle of the production run, not a hand-picked golden sample.
Test Print and Compare Yield
Never approve a batch based on a single test print. Run at least 50 pages on a genuine OKI printer, then check for: background haze (bad charge roller), ghosting (bad cleaning blade), and repeating marks (drum defect). Measure the drum life by printing a 5% coverage page until the printer throws a replace-drum error. Compare that yield to the OEM spec—typically 15,000 pages for a B420 drum, 20,000 for a C301. If your sample dies at 8,000 pages, the OPC coating is too thin.
One more thing: check the packaging. OKI drums are sensitive to light and humidity. A quality supplier ships each unit in a black antistatic bag with a desiccant pack. If they arrive in clear plastic wrap, the drum may already be fogged. That's not a defect you can fix—it's a return.
- Confirm exact OEM part number and chip type before ordering.
- Inspect OPC surface under bright light for haze, pinholes, scratches.
- Press charge roller—should rebound instantly, no shiny spots.
- Flex cleaning blade—sharp edge, 70-75 Shore A hardness.
- Run 50-page test and measure actual yield against OEM spec.
At CLONER, we've been molding OKI-compatible drums for over a decade. Our factory runs its own OPC coating line, so we control thickness and cure time—not just assembly. We supply bare drums, complete units, and OEM/ODM orders with your branding and chip configuration. If you're tired of playing quality roulette, send us your target part numbers and we'll ship a sample from current stock. No minimum order for the first test batch.